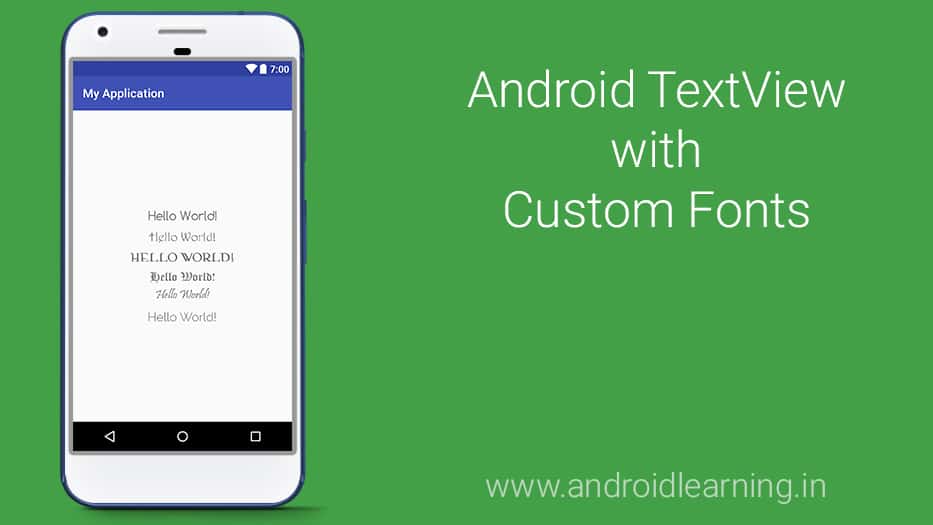
In android, you can define your own custom fonts for the TextView in your application. You just need to download the required font from the internet, and then place it in assets/fonts folder. After putting fonts in the assets folder under fonts folder, you can access it in your java code through Typeface class.
In this example, we are going to make a custom Android TextView that can change its font, by customizing its attributes from the XML.
Create an Android Studio Project
- Open Android Studio and choose “Start a new Android Studio Project” in the welcome screen. Go to Chapter 1 – Getting Started with Android Programming for creating new Android Studio project.
- Create a new folder named
assetsinsidesrc/main/folder. Then add a new folder namedfontsinsidesrc/main/assetsfolder. Now we are going to add some.ttffont file inside. - Create a new XML file inside
/values/folder, with the nameattrs.xml. We should have the/values/attrs.xmlfile and paste the code below.<?xml version="1.0" encoding="utf-8"?> <resources> <declare-styleable name="MyTextView"> <attr name="font" format="string" /> </declare-styleable> </resources> - Create a new Java class file named
MyTextViewand paste the code below.package org.snowcorp.textview; import android.content.Context; import android.content.res.TypedArray; import android.graphics.Typeface; import android.util.AttributeSet; /** * Created by Akshay Raj on 28-04-2017. * [email protected] * www.snowcorp.org */ public class MyTextView extends android.support.v7.widget.AppCompatTextView { public MyTextView(Context context, AttributeSet attrs, int defStyle) { super(context, attrs, defStyle); init(attrs); } public MyTextView(Context context, AttributeSet attrs) { super(context, attrs); init(attrs); } public MyTextView(Context context) { super(context); init(null); } private void init(AttributeSet attrs) { if (attrs != null) { TypedArray a = getContext().obtainStyledAttributes(attrs, R.styleable.MyTextView); String fontName = a.getString(R.styleable.MyTextView_font); try { if (fontName != null) { Typeface myTypeface = FontCache.get("fonts/" + fontName, getContext()); setTypeface(myTypeface); } } catch (Exception e) { e.printStackTrace(); } a.recycle(); } } } - Create another file named
FontCacheand copy below codes.package org.snowcorp.textview; import android.content.Context; import android.graphics.Typeface; import java.util.Hashtable; /** * Created by Akshay Raj on 28-04-2017. * [email protected] * www.snowcorp.org */ class FontCache { private static Hashtable<String, Typeface> fontCache = new Hashtable<>(); static Typeface get(String name, Context context) { Typeface tf = fontCache.get(name); if(tf == null) { try { tf = Typeface.createFromAsset(context.getAssets(), name); } catch (Exception e) { return null; } fontCache.put(name, tf); } return tf; } } - Add your Custom Text View in
activity_main.xmlfile.<org.snowcorp.textview.MyTextView android:layout_width="wrap_content" android:layout_height="wrap_content" android:text="Hello World!" android:textSize="30sp" android:padding="5dp" app:font="madariaga.ttf"/>If you want to change your TextView font then set your font in
app:font="YOUR_FONT.ttf" - Now run your project.
Complete Source Code
[et_bloom_locked optin_id=”optin_3″] Download Source Code [/et_bloom_locked]


C:\Users\Muibi Azeez Abolade\AndroidStudioProjects\Android-Login-And-Registration-master\app\src\main\res\values\attrs.xml:4:5-6:25: AAPT: error: duplicate value for resource ‘attr/font’ with config ”.